Fixing Costly Pneumatic Air Leaks
Pneumatic Now2026-06-11T12:05:35-07:00The Silent Profit Killer: How to Detect and Fix Pneumatic Air Leaks.
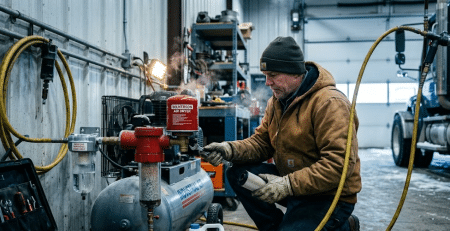
In many industrial facilities, there is a constant, rhythmic hissing sound in the background. To the untrained ear, it’s just the “sound of the factory.” To a plant manager, that sound should be the screaming of lost revenue.
Compressed air is often called the “fourth utility,” but unlike electricity or water, we tend to tolerate massive waste. In a typical plant, 20% to 30% of total compressed air capacity is lost to leaks. If you aren’t actively hunting for leaks, you aren’t just losing air, you’re burning through equipment life and inflating your energy bills. Here is how to identify, locate, and eliminate the silent profit killer.
The Real Cost of a “Tiny” Leak
It’s easy to ignore a small leak at a fitting, but compressed air is expensive to generate.
- Energy Waste: Your compressors have to run longer and harder to maintain system pressure.
- Equipment Wear: Excessive cycling leads to more frequent maintenance intervals and shorter motor life.
- Pressure Drops: Leaks cause fluctuations in system pressure, which can lead to tool malfunction and inconsistent product quality.
Phase 1: Detection (The Hunt)
You can’t fix what you can’t find. Depending on your budget and the noise level of your facility, there are three primary ways to track down leaks:
- The “Listen and Feel” Method: The simplest (and least effective) way. During a weekend or a shift change when machines are off, walk the lines. Listen for hissing and feel around joints for air movement.
- The Soapy Water Test: Old school but reliable. Spray a mixture of soap and water on suspected joints, valves, and hoses. If bubbles form, you’ve found your culprit.
- Ultrasonic Leak Detection: This is the gold standard. These devices “hear” the high-frequency turbulence created by a leak, even in a noisy factory environment. They can pinpoint a leak from several feet away and even quantify the CFM (Cubic Feet per Minute) loss.
Phase 2: Common Culprits
Leaks rarely happen in the middle of a steel pipe. They almost always occur at connection points. Focus your search on:
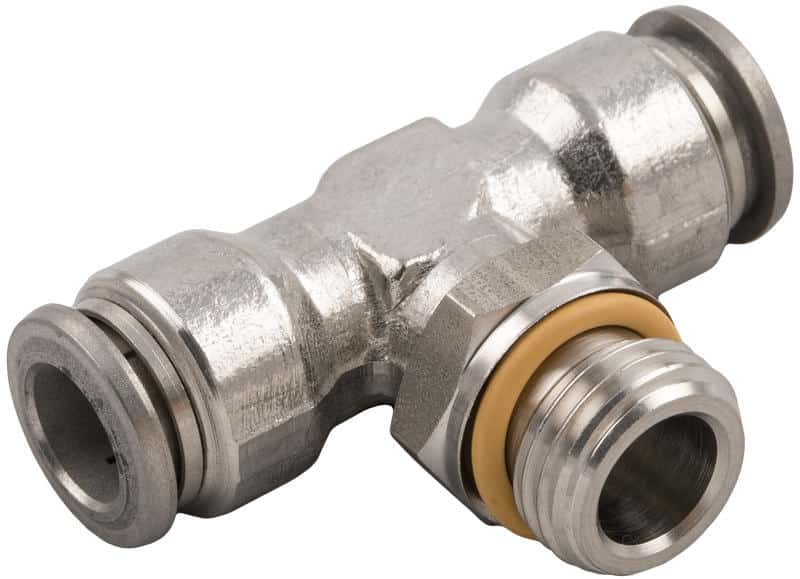
- Couplings and Fittings: Worn O-rings or poorly seated threads.
- Pressure Regulators: Failing diaphragms or incorrect installation.
- FRL Units (Filter-Regulator-Lubricators): Often neglected during routine maintenance.
- Worn Hoses: Cracks from age or damage from being dragged across shop floors.
Phase 3: The Fix
Once you’ve tagged your leaks, it’s time to perform surgery. Most fixes are surprisingly affordable compared to the cost of the wasted air.
- Tighten and Seal: Sometimes a simple turn of a wrench or a fresh application of high-quality thread sealant is all it takes.
- Replace Worn Components: If a quick-connect coupling is leaking even when plugged in, the internal seal is gone. Don’t wait, replace it!
- Optimize Hose Lengths: Long, coiled hoses are leak magnets. Shorten runs where possible to reduce the number of potential failure points.
- Regulate Demand: Ensure tools are only receiving the pressure they actually need. Over-pressurizing a system forces more air out of existing leaks (the “leakage rate” increases with higher pressure).
At the end of the day, tuning out that background factory hiss is costing your operation real money. Hunting down pneumatic air leaks isn’t just a basic maintenance chore; it is an immediate strategy for cutting energy bills and extending the life of your equipment. By making routine detection and quick component fixes a standard part of your plant’s protocol, you can permanently silence this profit killer.
Need to swap out some worn-out fittings, leaking hoses, or failing FRL units? Reach out to us or explore our full catalog to secure your system’s efficiency today.